Software instructions
Nextcloud Thunderbird calendar
Employees of the University of Bremen have the option of creating a Nextcloud calendar for Thunderbird and sharing this calendar with other employees of the university.
-----------------------------------------------------------------------------------------------------------------------------------------------------------------------------------------------
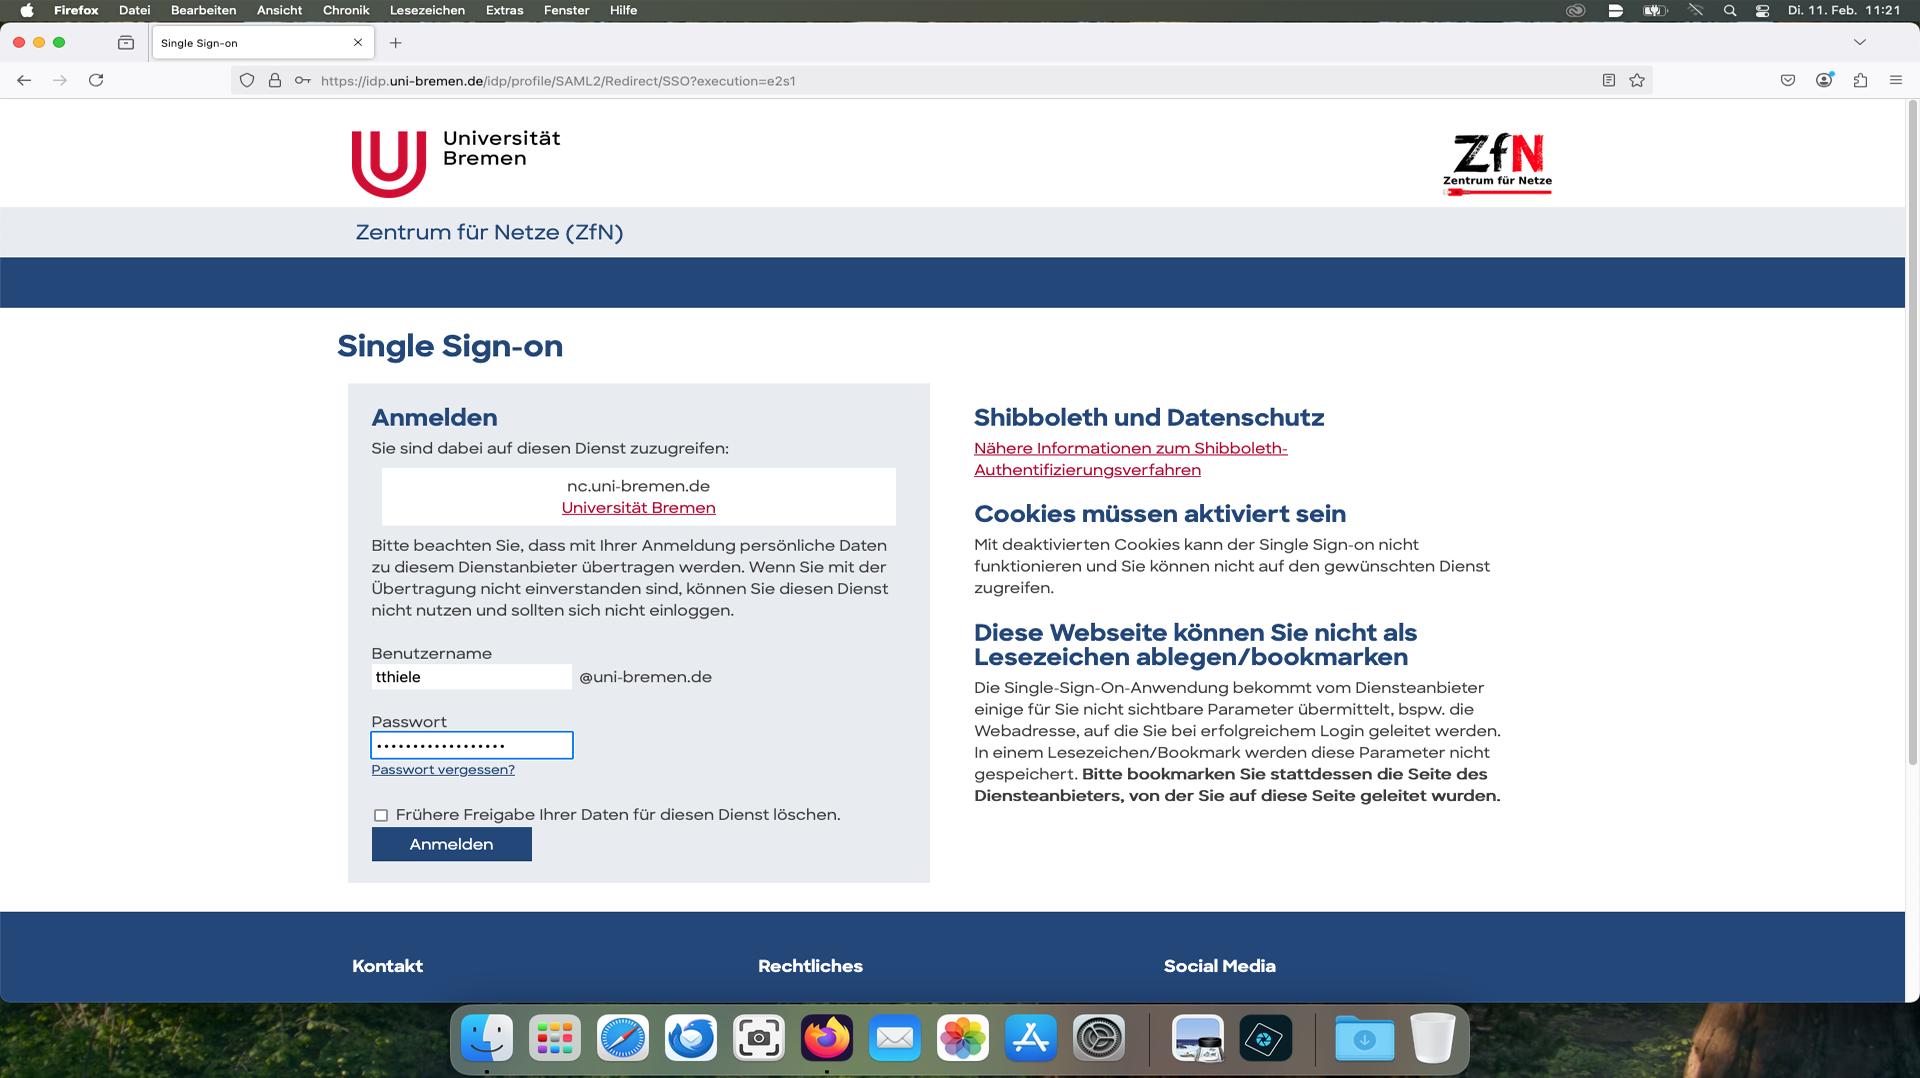
Step 2
Enter your account username and password.
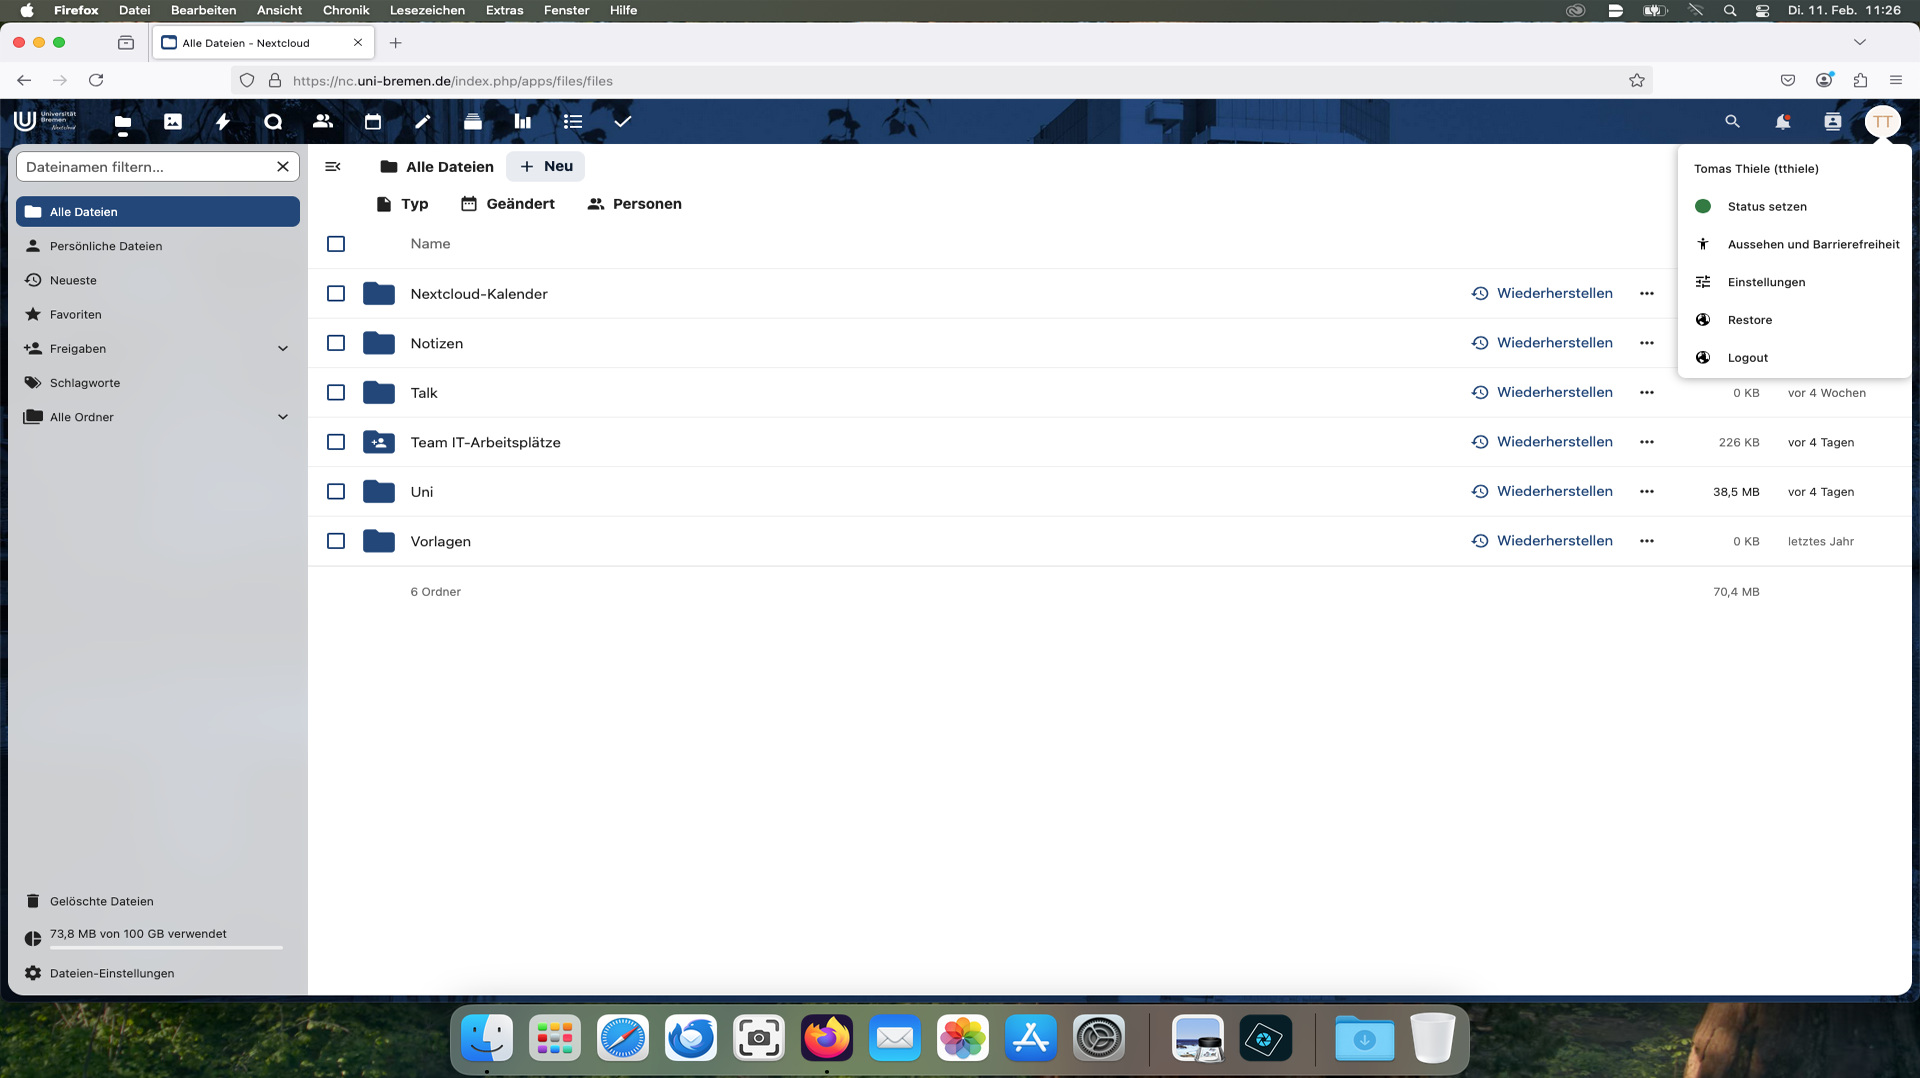
Step 3
Then open the settings in the top right-hand corner.
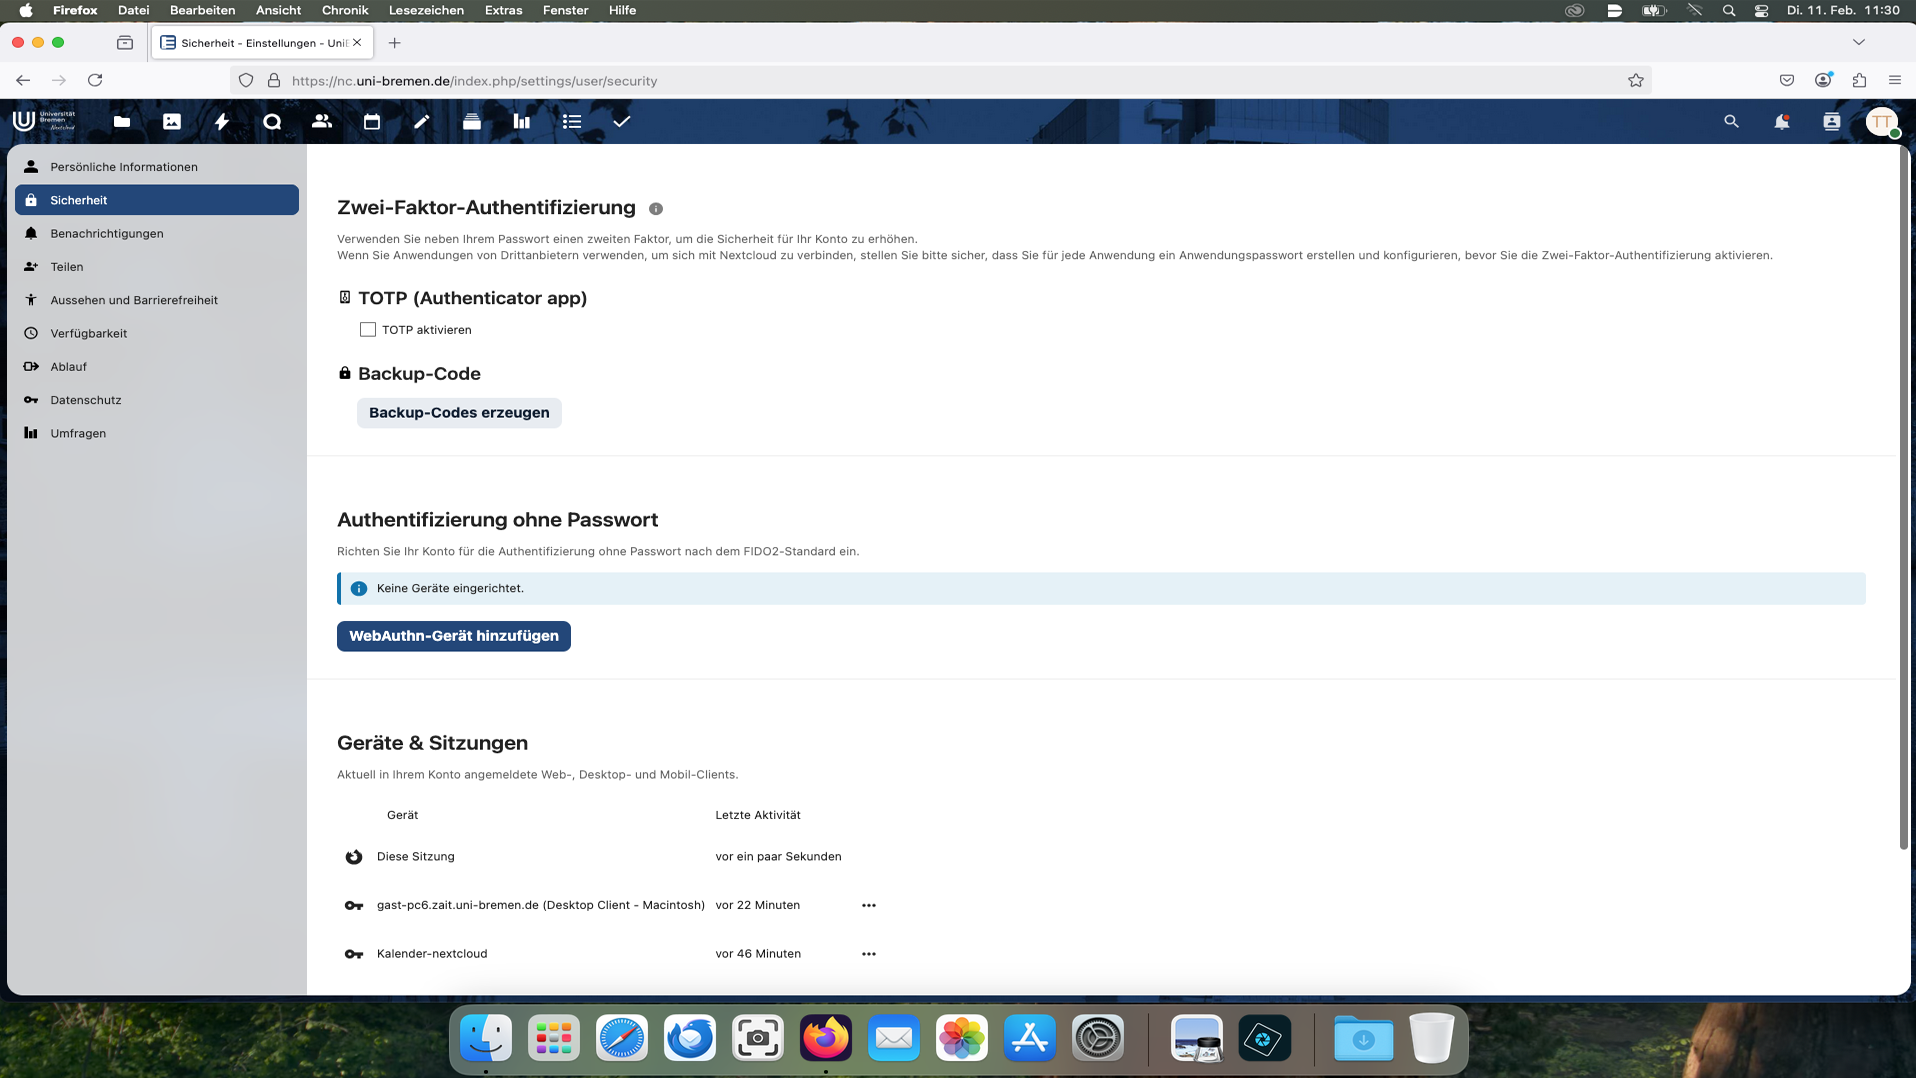
Step 4
Then select Security at the top left.
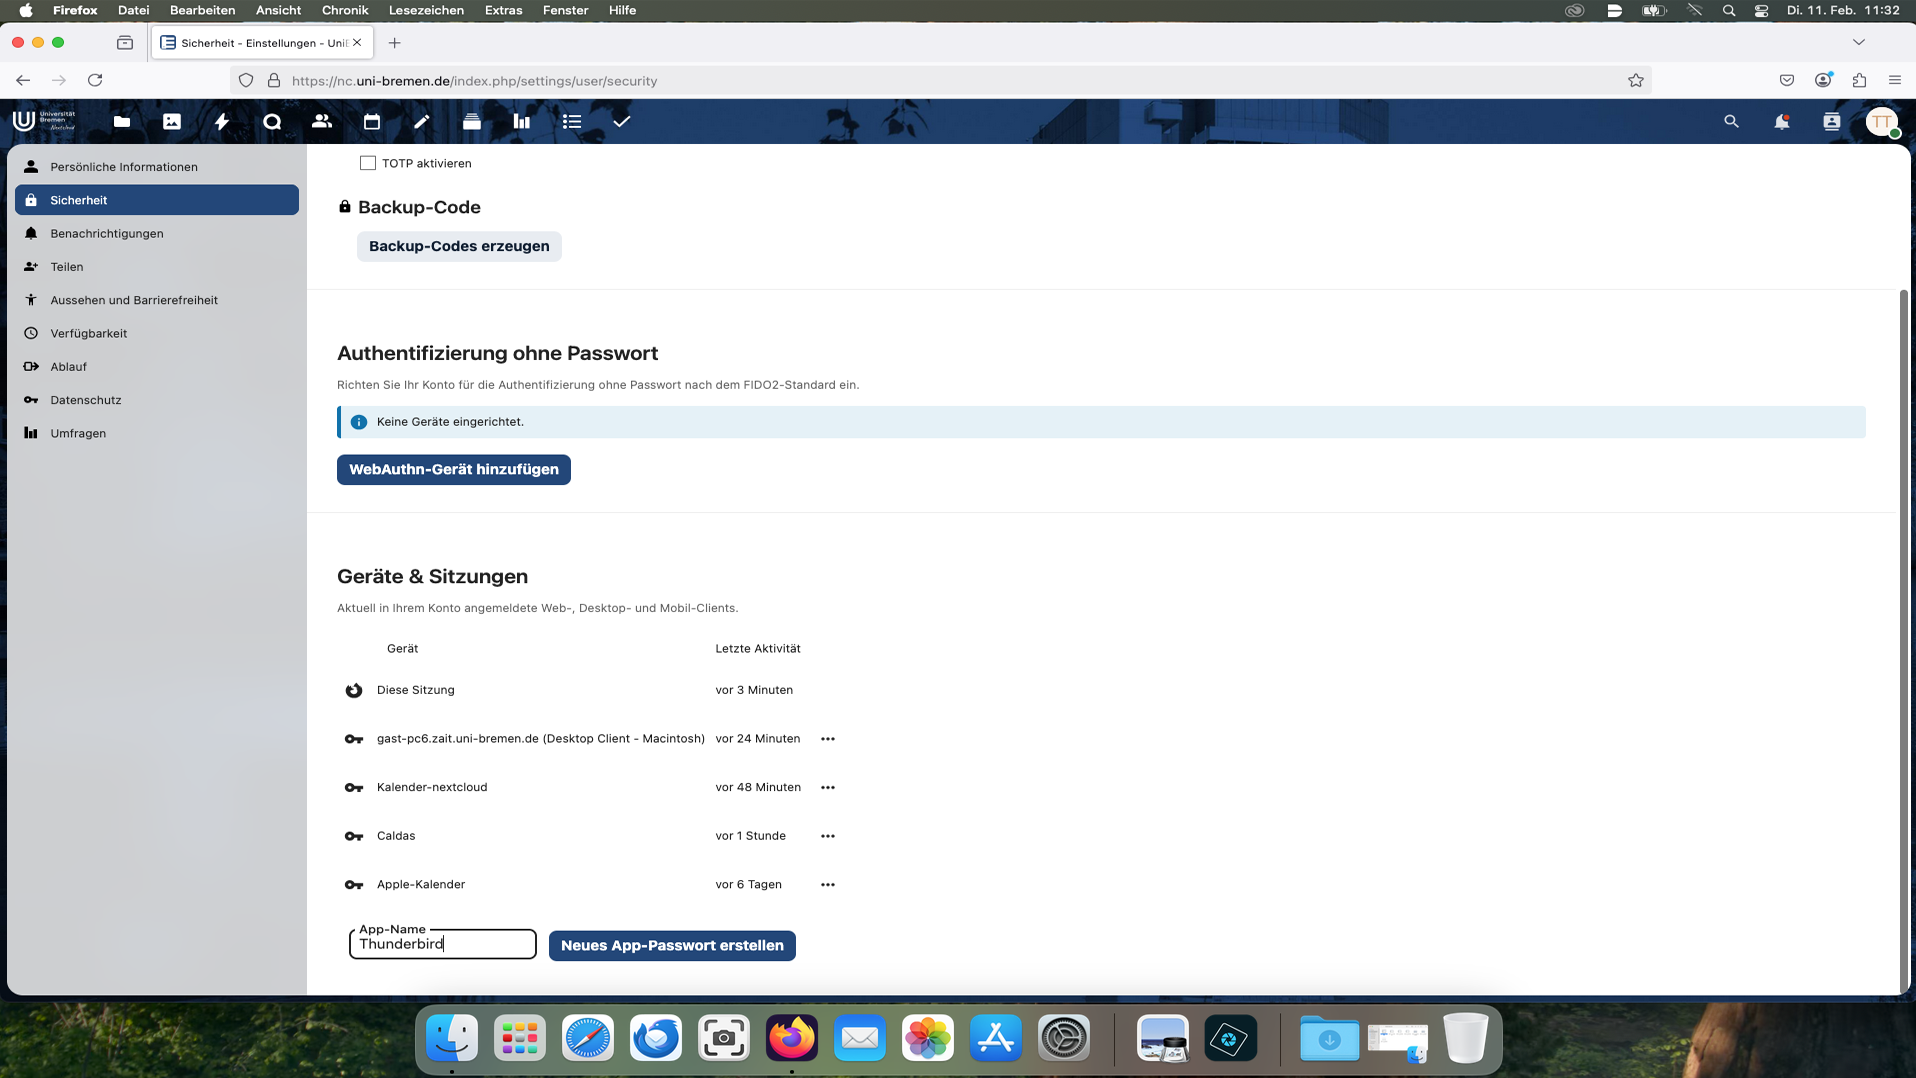
Step 5
Now we need an app password for Thunderbird.
Step 6
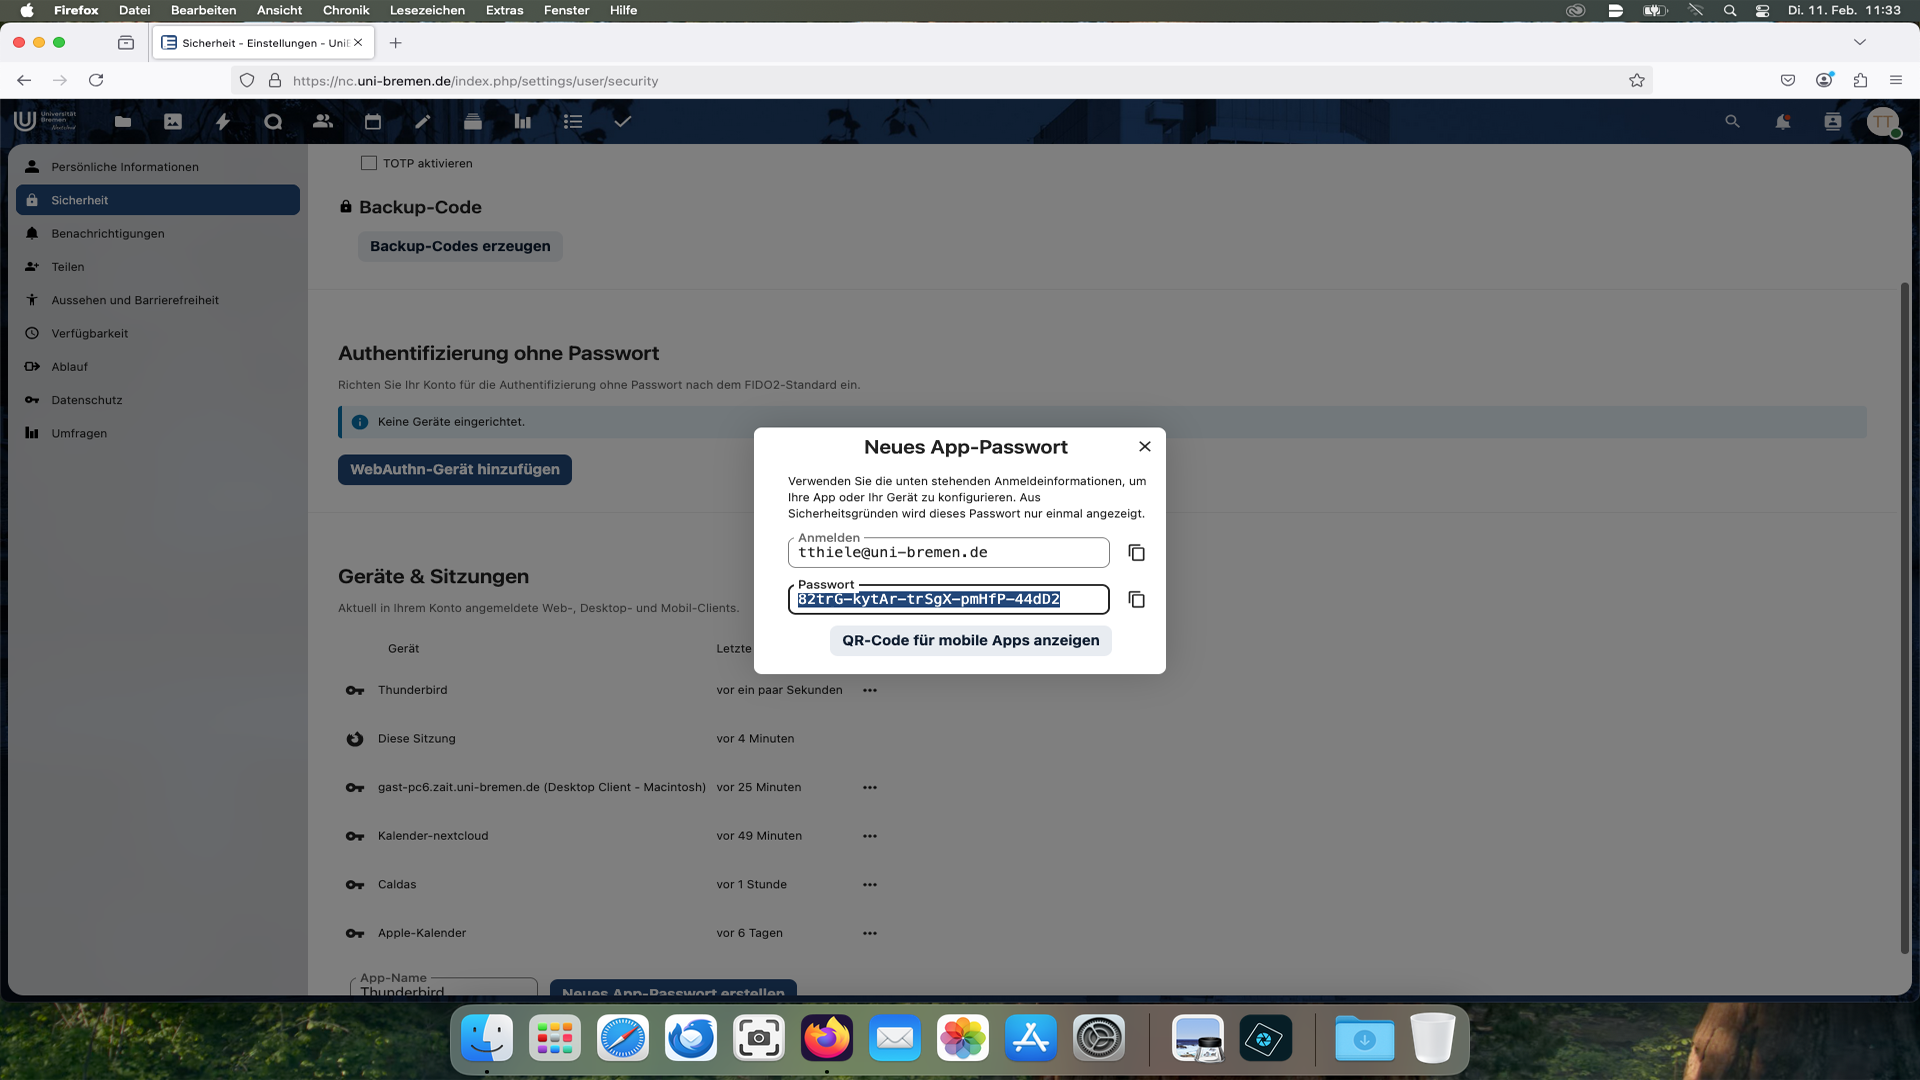
Here we can create a new app password. This password cannot be displayed again. Please copy the password and save it in a
Word or text file!
If it has not been saved, the entry must be deleted and a new app password generated.
The name of the entry is arbitrary and only ensures that the wrong entry is not deleted.

Step 7
Manage calendars in the Nextcloud
We need to switch to the calendar area.

Step 8
Everyone has a personal calendar by default. With + we can add new calendars.
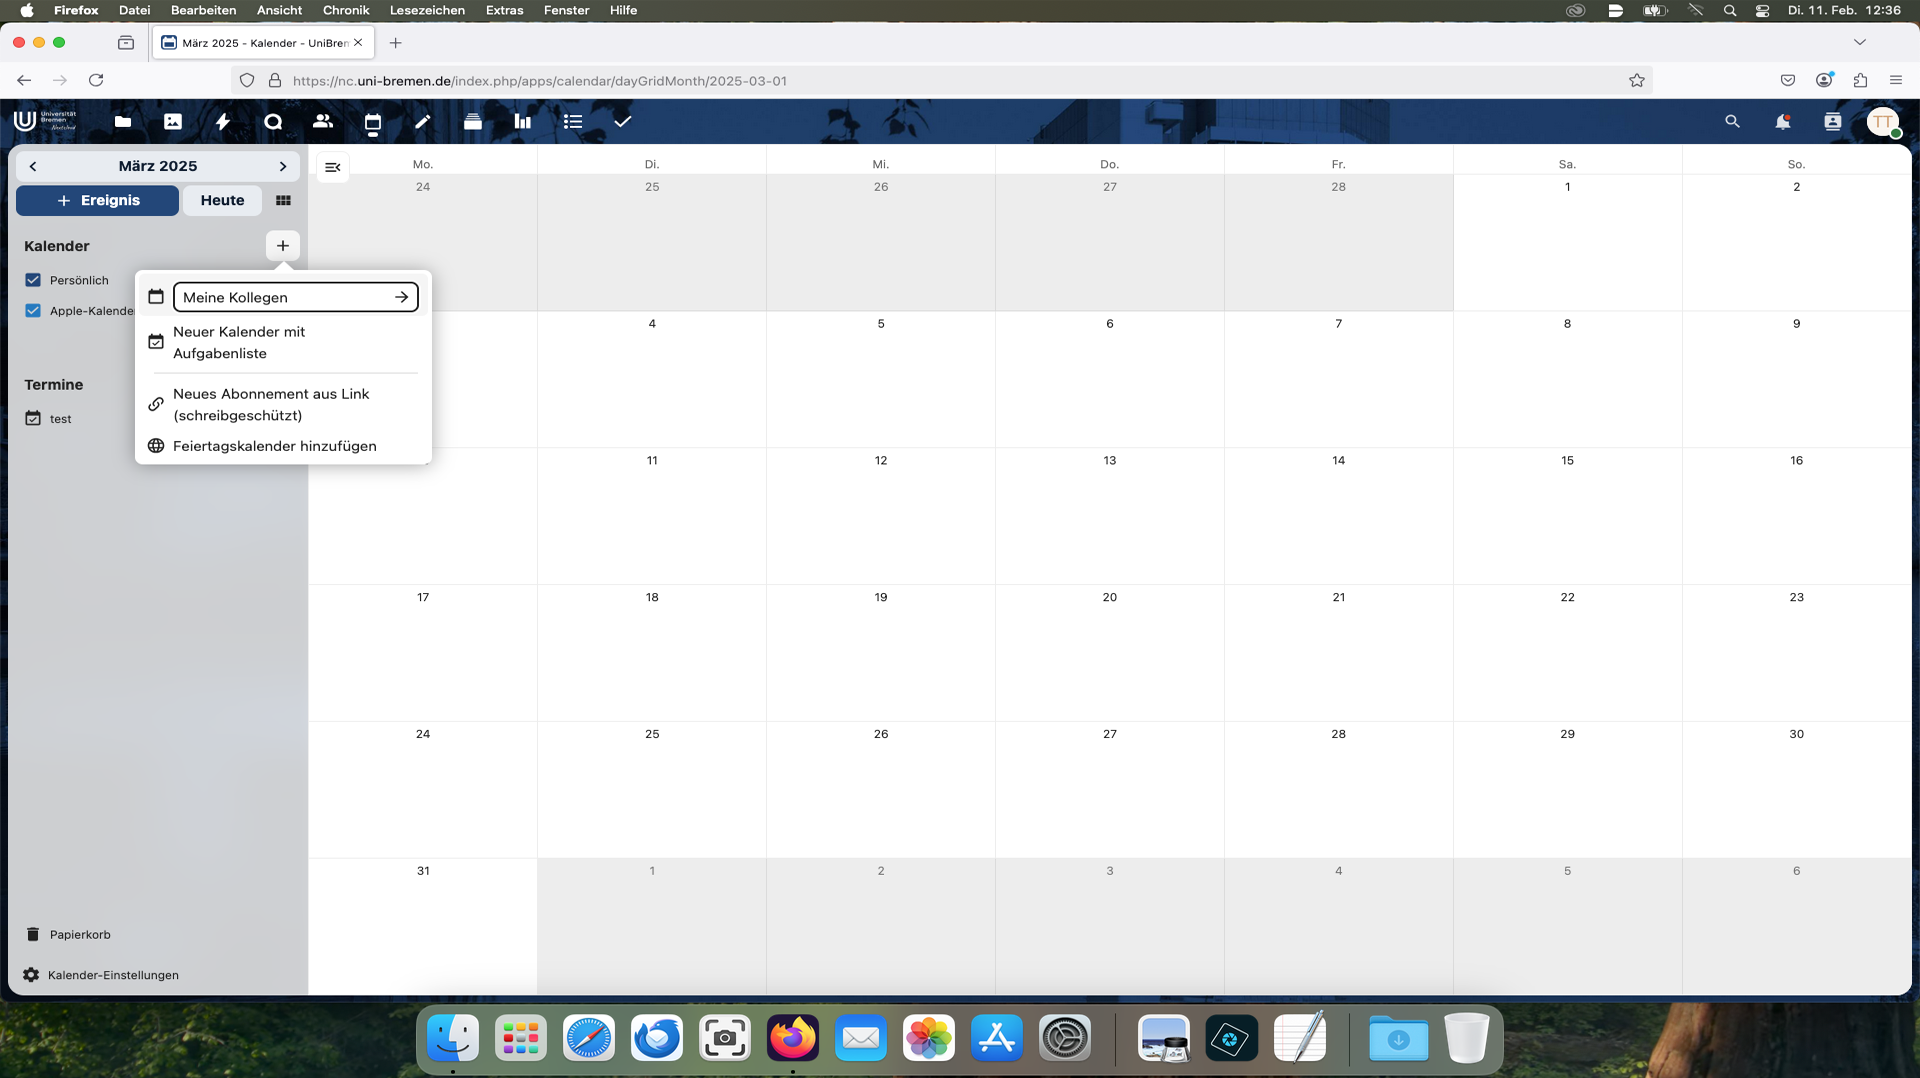
Step 9
Please give the new calendar a meaningful name, e.g. “My colleagues”
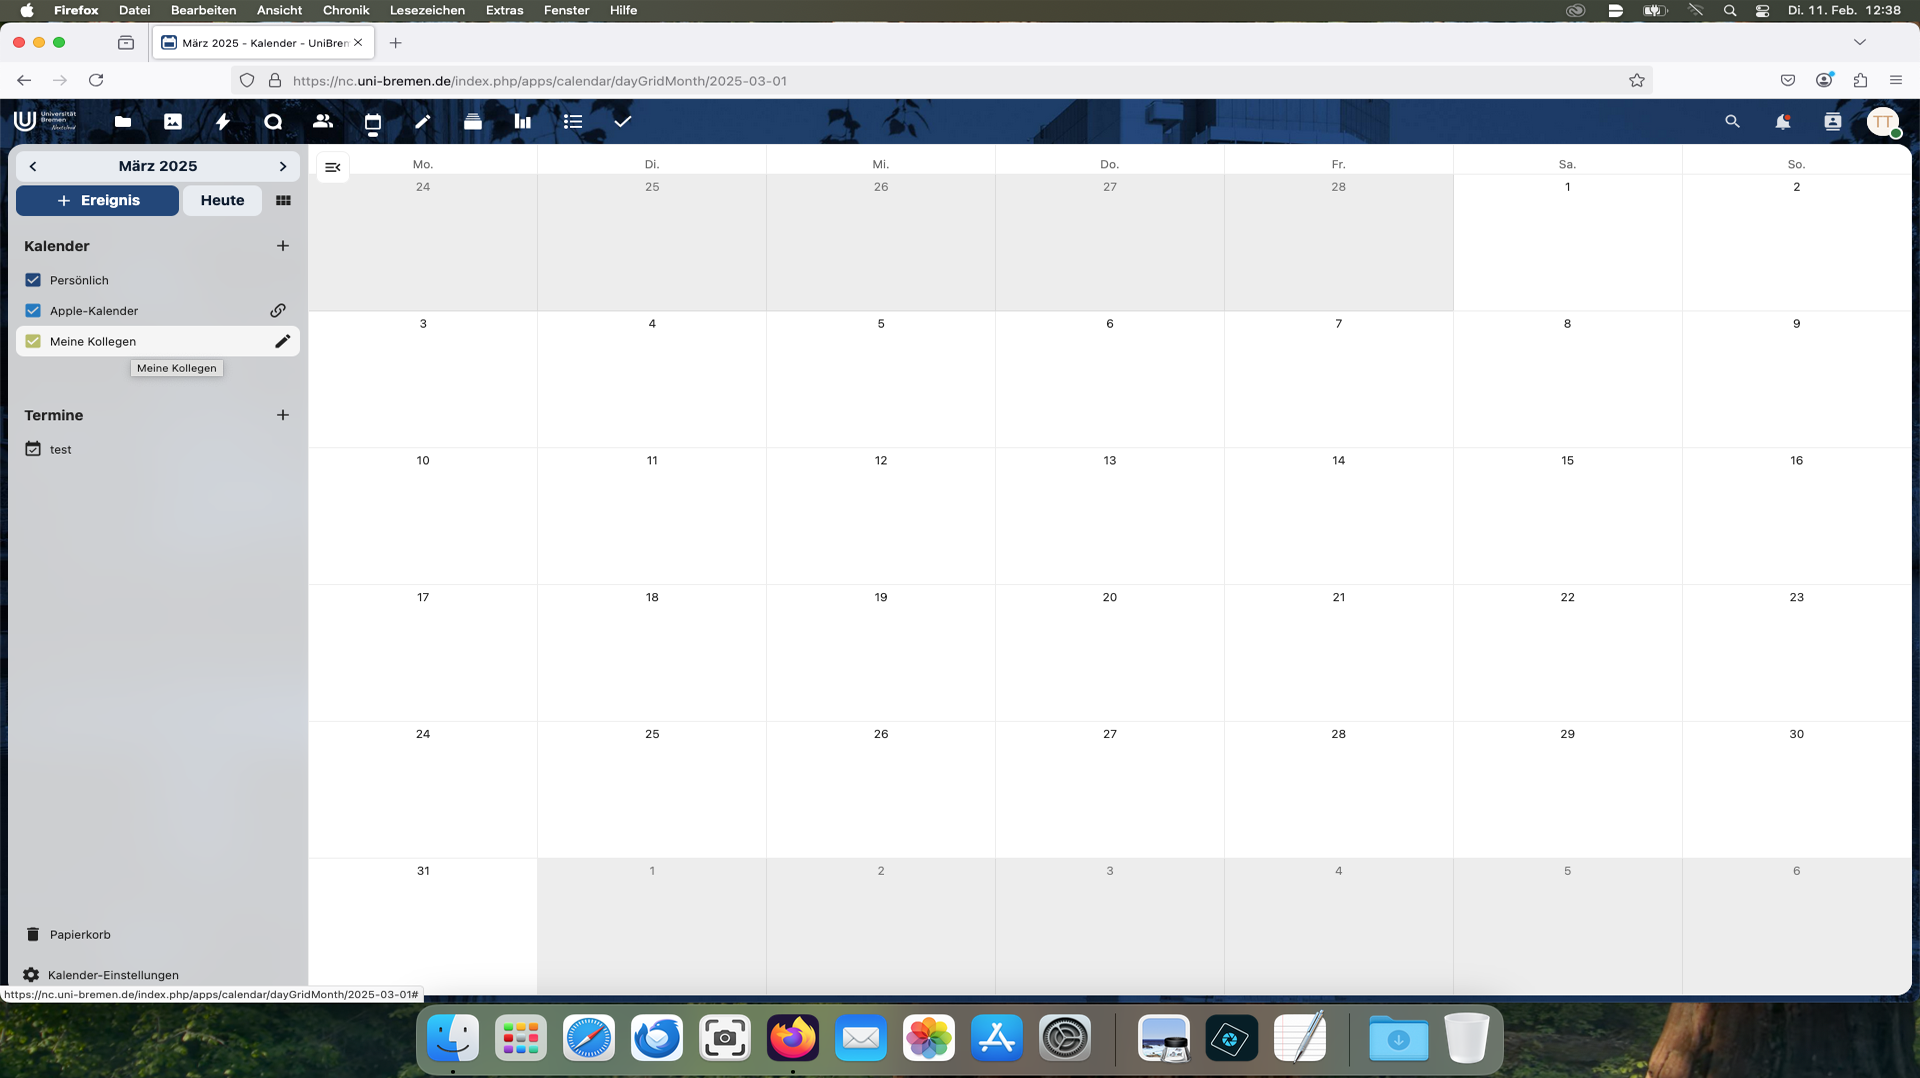
Step 10
Now we have created the calendar, but nobody but us can access it.

Step 11
Edit the calendar
We now need to edit the calendar to add people.
To do this, please click on the pencil icon.
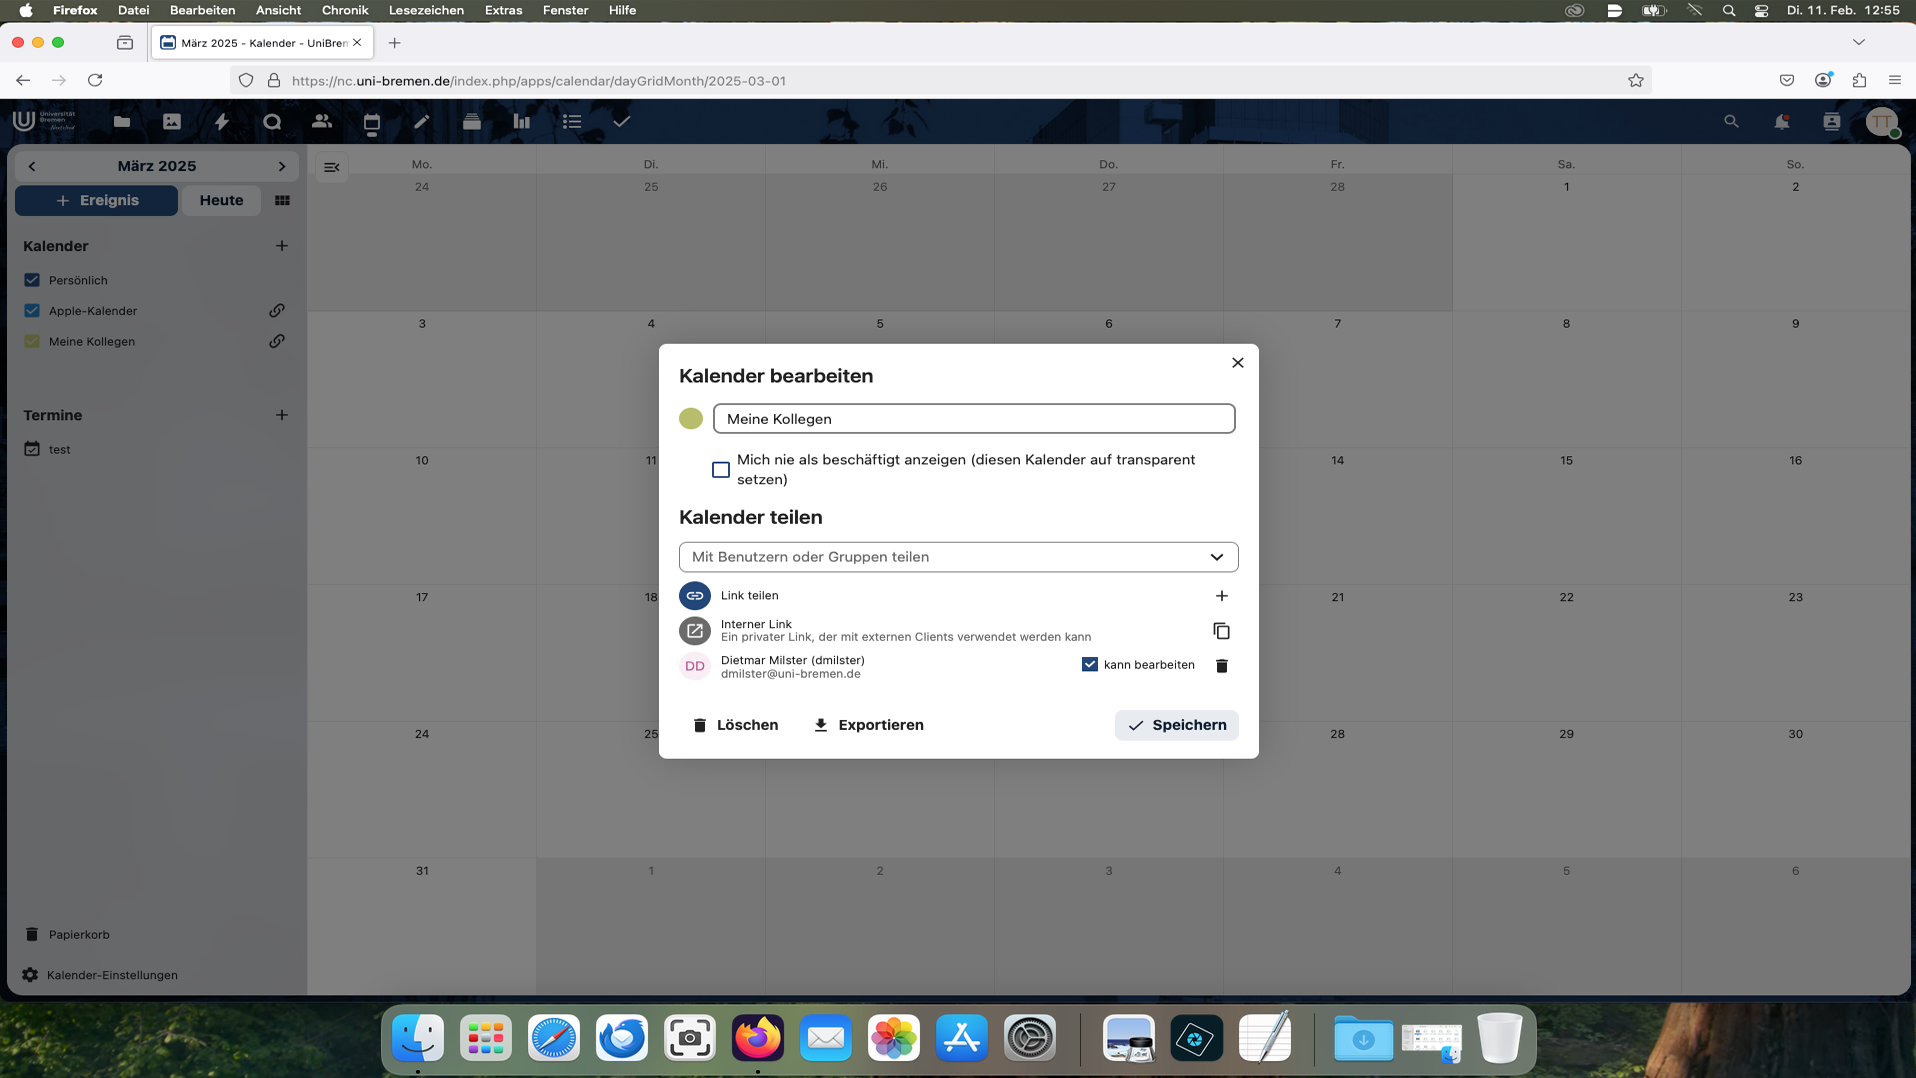
Step 12
Share calendar
Search for and add the relevant person. You can also select a group from the online tools.
You can then set whether the person or group can only read or also edit.
Step 13
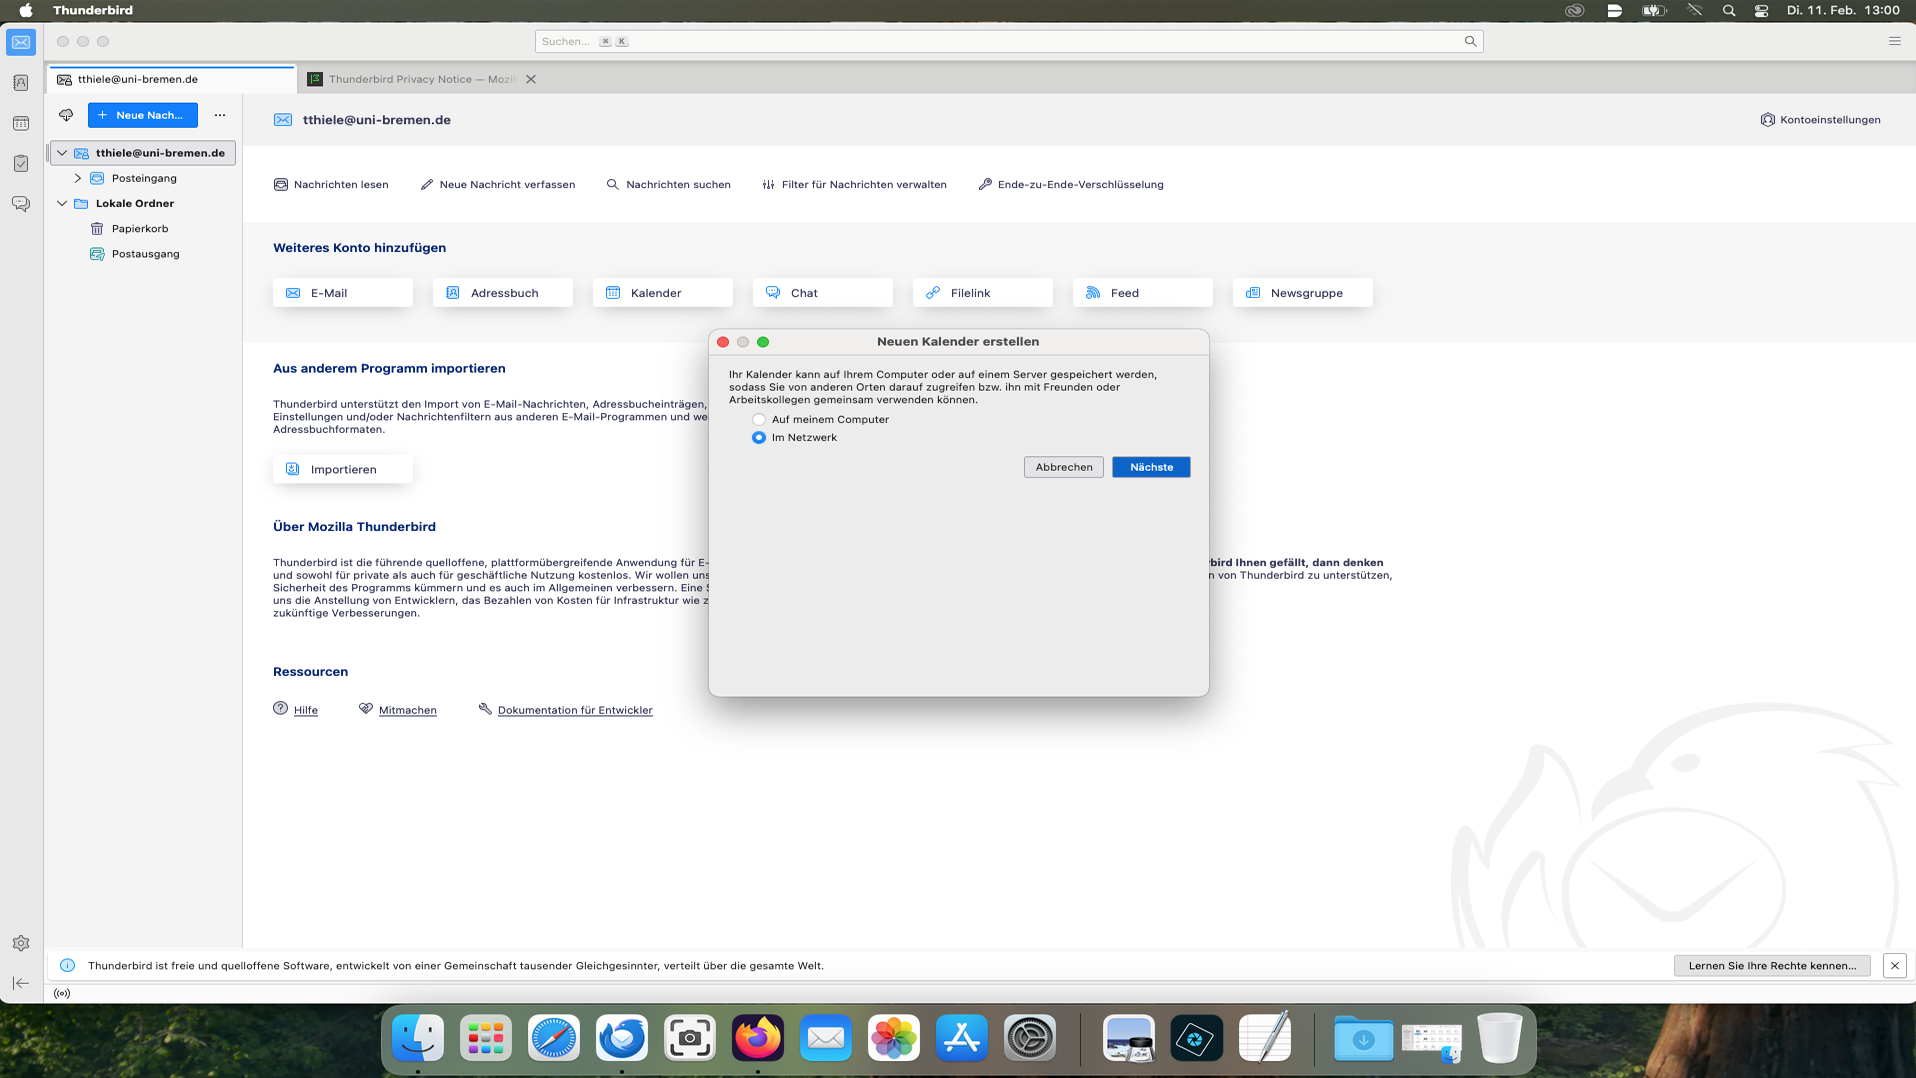
Set up Thunderbird
If there is no calendar in Thunderbird yet, simply click on Calendar.
A dialog to create a “new” calendar will then open. Because the calendar is in the Nextcloud,
please select the network option.
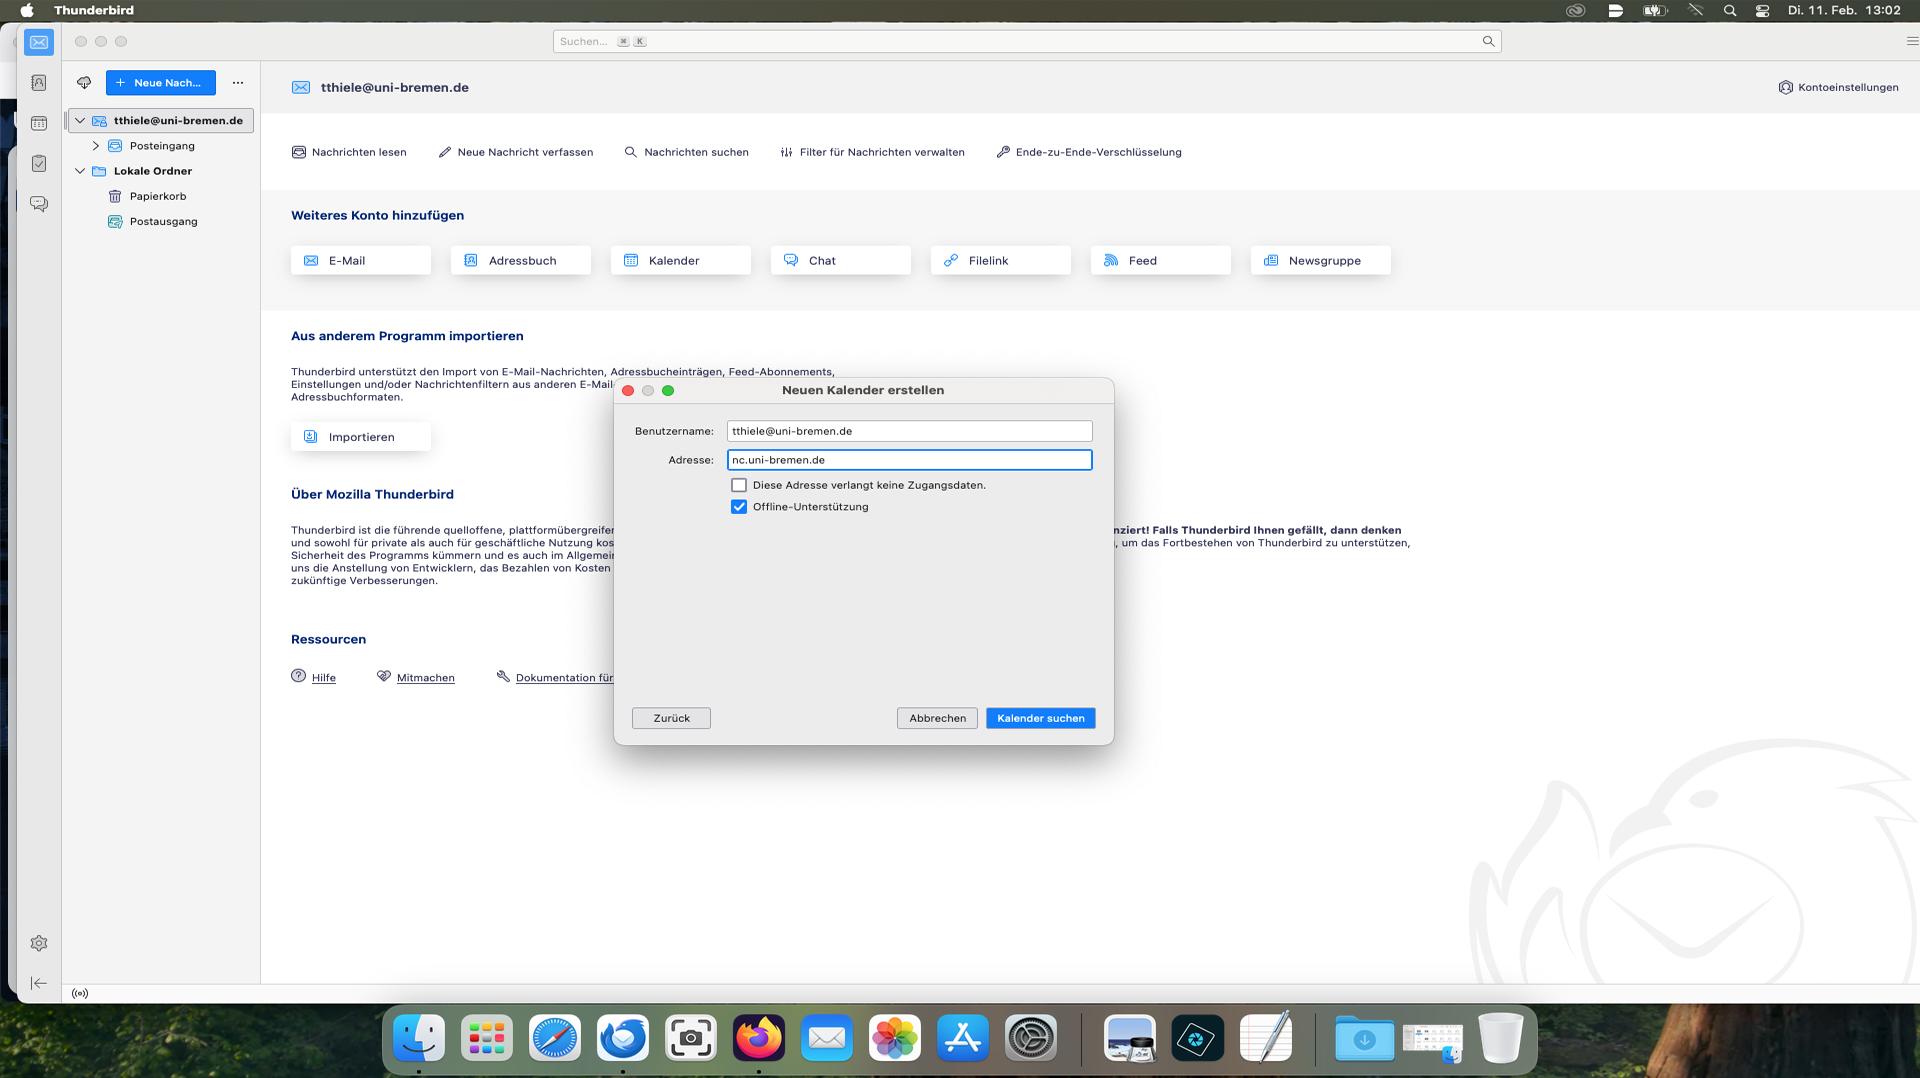
Step 14
Enter your own ZfN username + @uni-bremen.de and the path: nc.uni-bremen.de

Step 15
Then enter the app password (not the ZfN user password!!!).

Step 16
Select the calendars to be linked.
Step 17
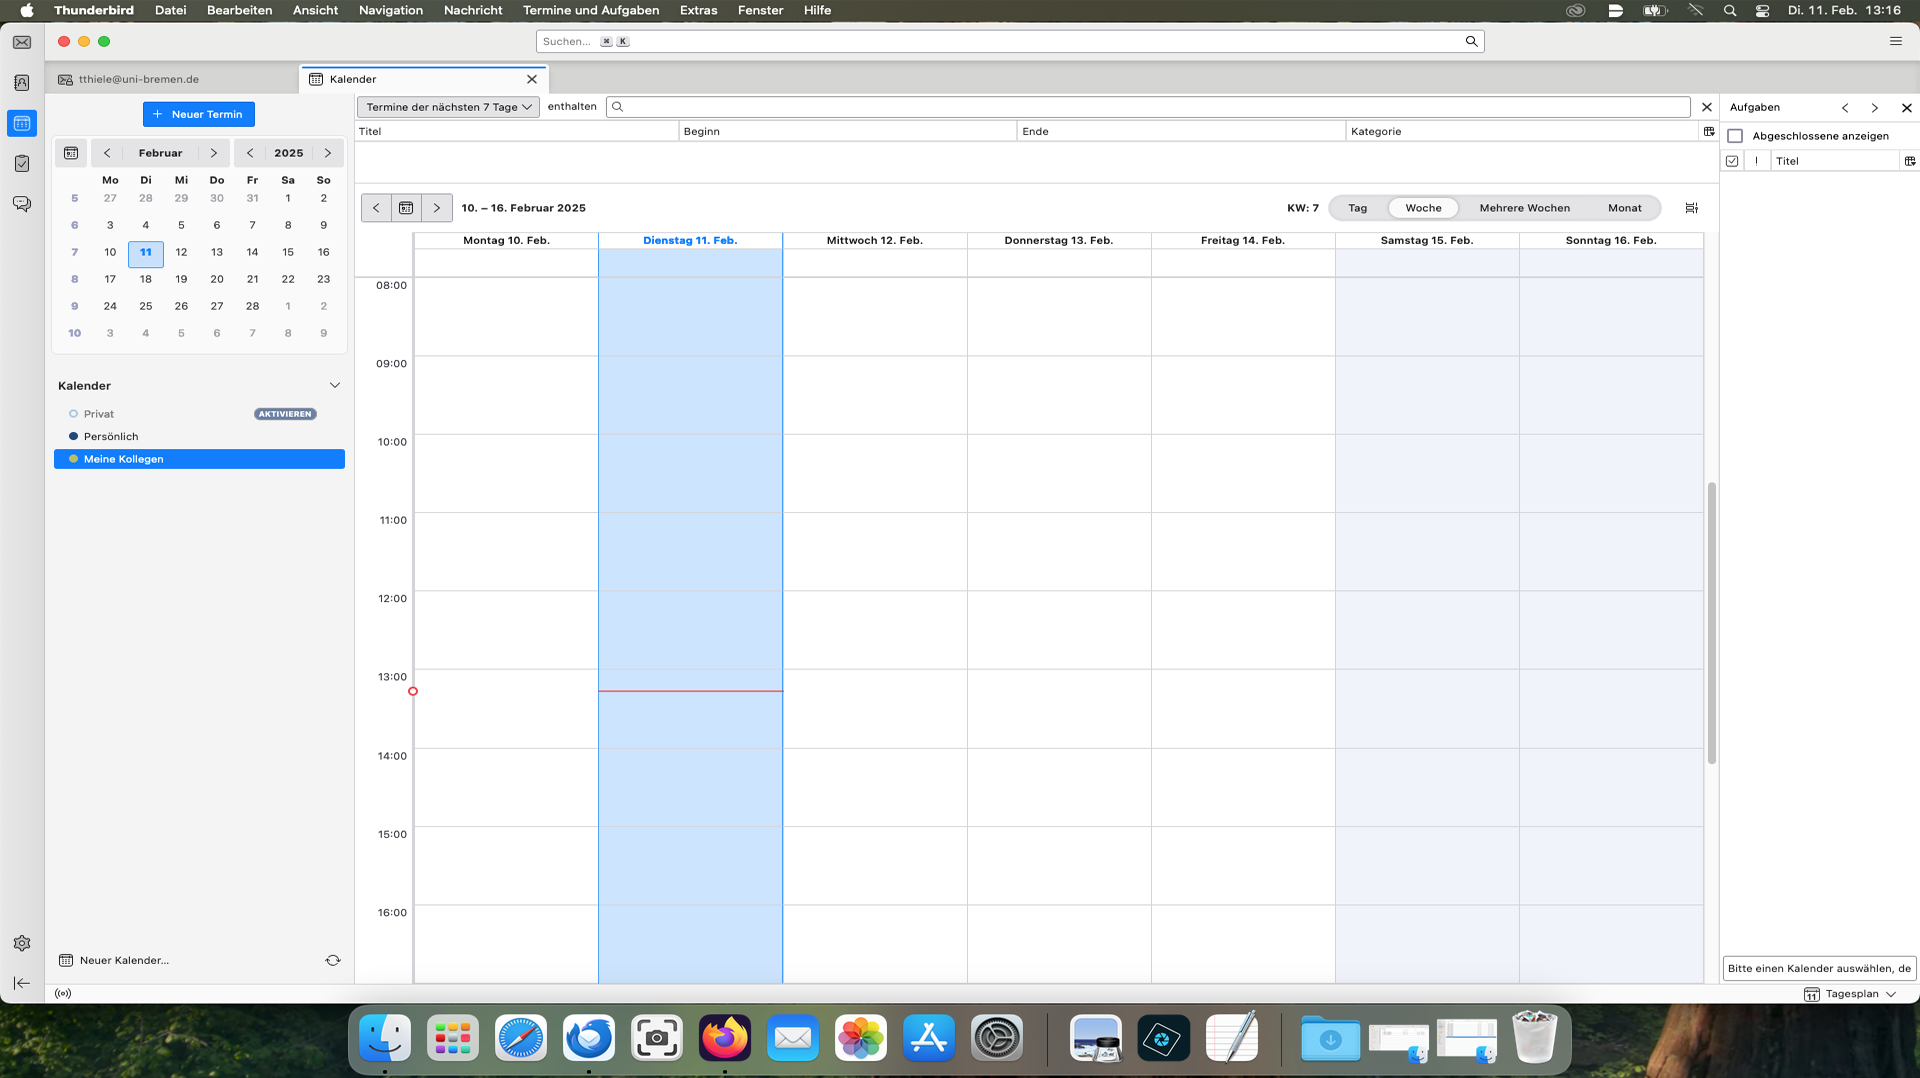
To check, we go to the calendar in Thunderbird ( top left, middle symbol )
The connected calendars must be visible at the bottom left. If you want to add more calendars,
click on New calendar at the bottom left.
Step 18
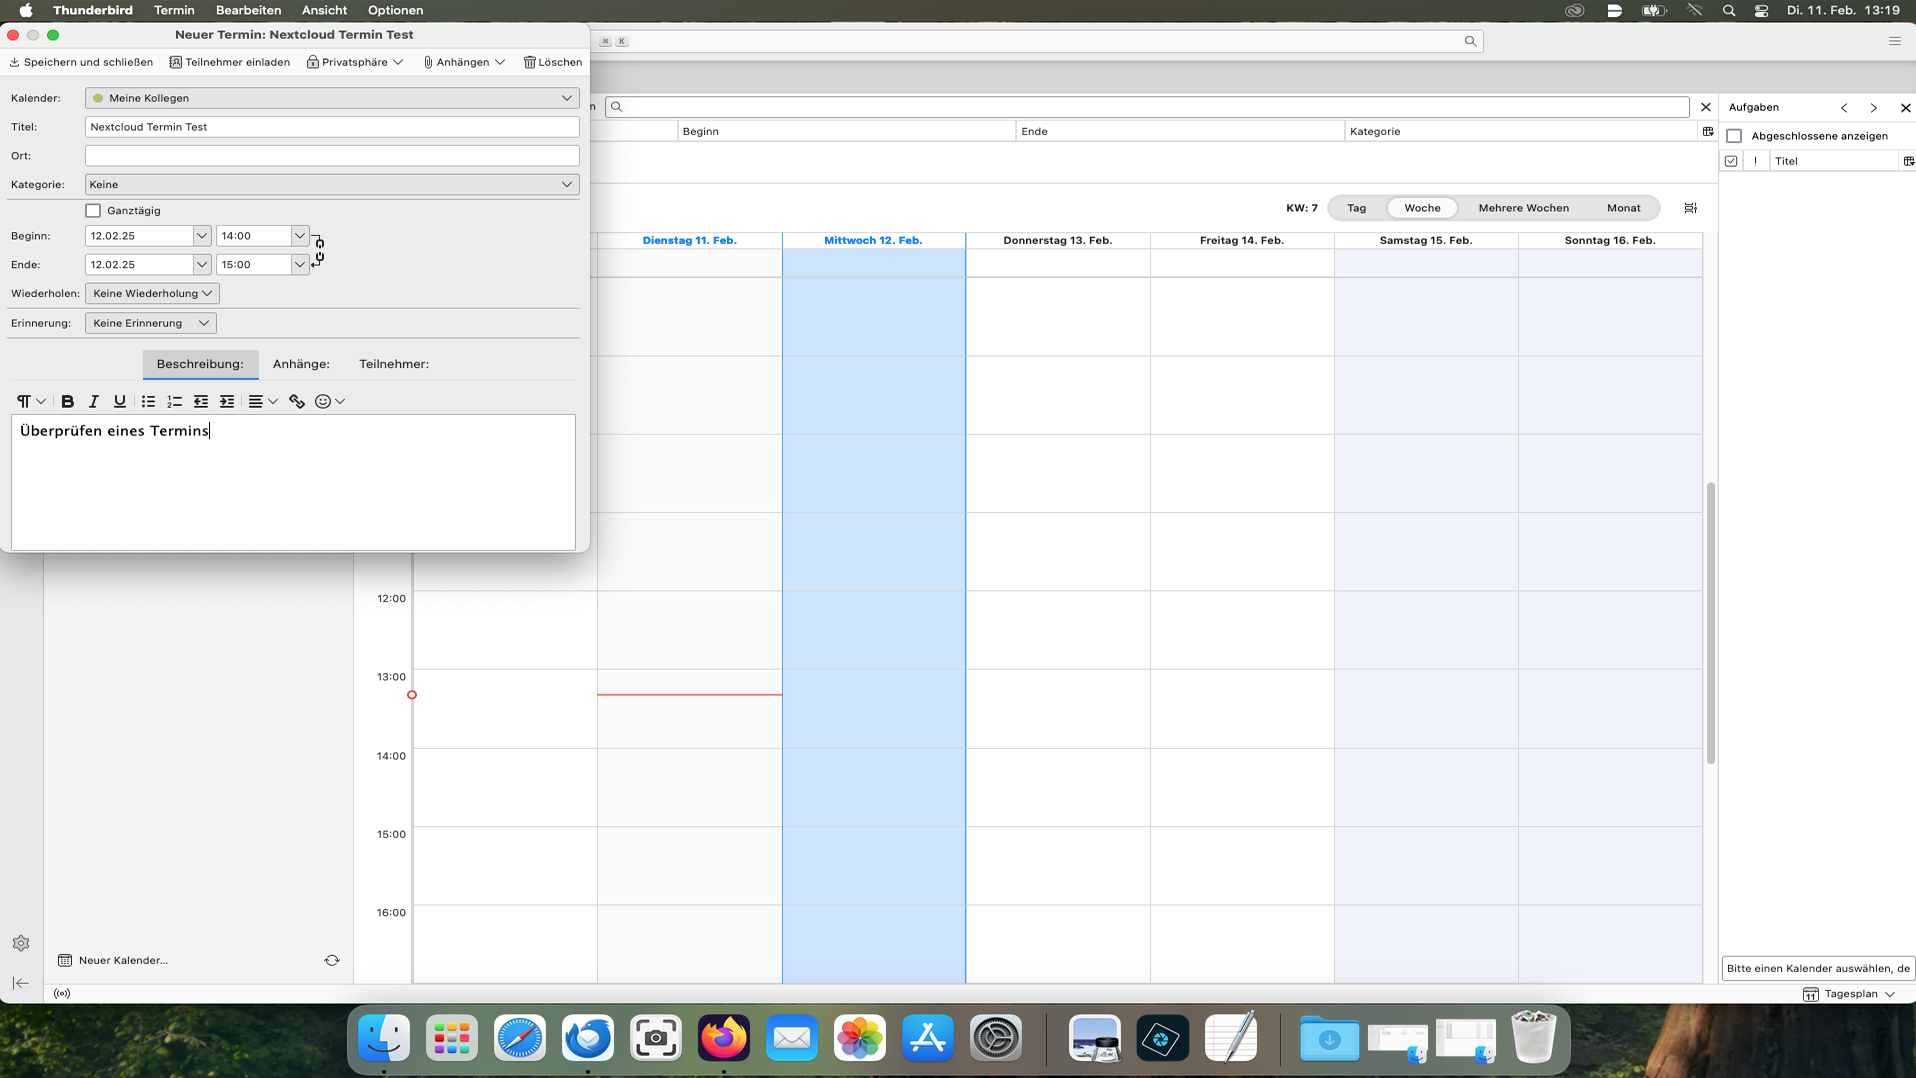
You can also enter the dates here: Please use comprehensible designations and check
that the correct calendar has been selected.